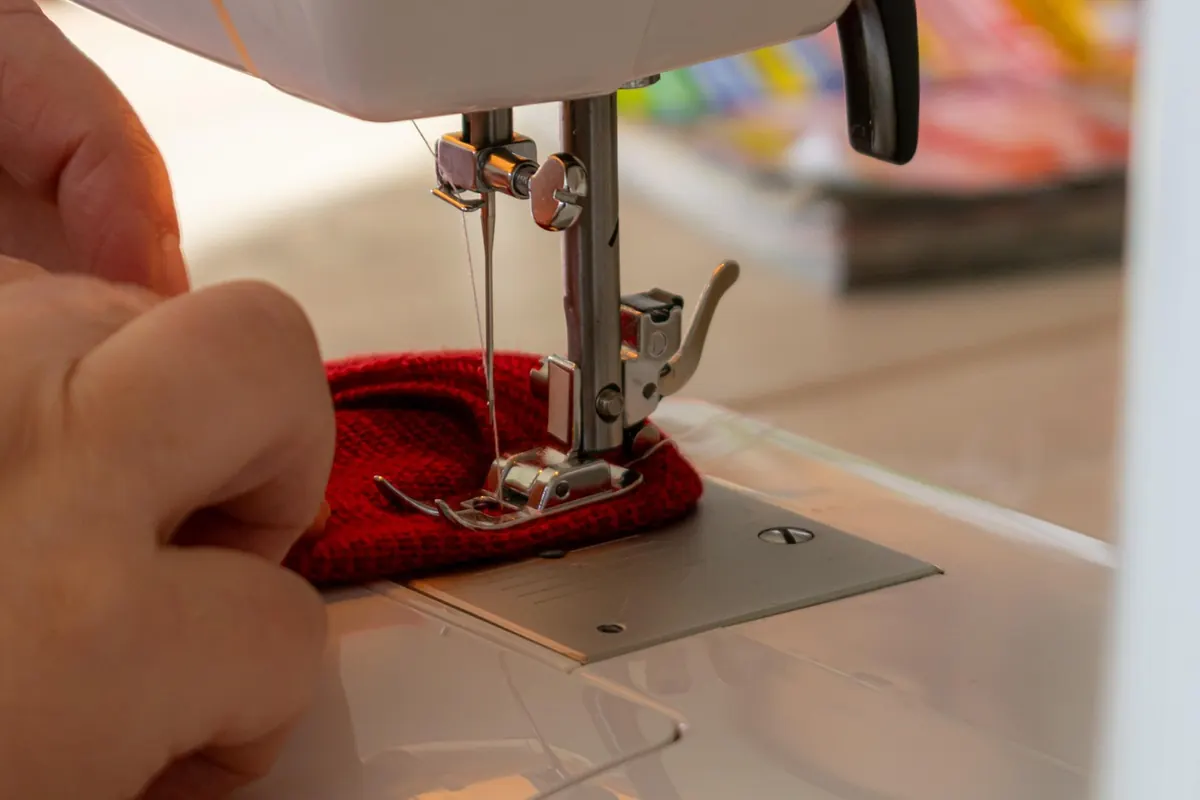
A tote bag is usually the second thing a new sewist makes, and the first thing they make again. It has everything worth practising — long straight seams, corners that need a bit of patience, and a finish that hides every raw edge — in a shape you can carry the same afternoon you finish it. The lining is where most beginners stall, because the turning process looks impossible until you have done it once. It is not impossible. With a half-inch seam allowance and a five-inch gap in the lining, two flat rectangles become a bag with a real inside and a real outside. Set aside two hours, keep the iron hot, and resist the urge to skip pressing.
Fabric choice matters more than any other decision here. Reach for a medium-weight woven: cotton canvas, home decor cotton, a linen-cotton blend, or a sturdy quilting cotton. Anything with stretch will fight you, and anything slippery will slide out of alignment at the top edge, which is the one seam you cannot afford to get wrong. Wash and dry your fabric the way you plan to wash the finished bag, then press it flat. Canvas shrinks, and a bag that puckers after its first wash is a sad thing.
One yard of outer fabric and one yard of lining is plenty for the measurements below, even with directional prints. From your stash you will also need:
That interfacing is worth considering. Without it, a cotton tote slumps into whatever you put inside it. With it, the bag holds its shape and the top edge behaves beautifully when you turn it. Fuse it to the wrong side of the outer panels before you do anything else.
These measurements make a bag roughly 15 inches wide by 13 inches tall, with a 3-inch base and handles long enough to sit on a shoulder. Cut everything at once so the pieces do not wander off:
Line up your ruler with the selvage and cut on grain, because panels cut off-grain will twist once the bag hangs with weight in it. From the bottom two corners of every 16-inch panel — outer and lining — cut out a 1.5-inch square notch. Those notches are what create the flat base later; cutting them now saves fiddling at the machine.
Place the two outer panels right sides together, matching all edges. Pin generously along both sides and the bottom, then sew with a half-inch seam allowance, backstitching at the start and end of each pass. Do not sew across the notched corners; just follow the straight edges. Press the seams open or, if the fabric is bulky, press them to one side and trim them down to a quarter inch.
Now box the corners. With the bag still inside out, pinch one of the notched corners between your fingers so that the side seam lies exactly on top of the bottom seam. The raw notched edges should line up to form a straight line across. Pin it, then sew straight across, half an inch from the cut edge. Repeat with the second corner. Turn the bag right side out, push the corners out gently with a chopstick or point turner, and press. The base should already look like a bag.
Construct the lining exactly as you did the outer bag, with one crucial difference: leave a gap. Sew the bottom seam in two passes, starting at each side edge and stopping about 2.5 inches short of the centre, backstitching at both ends. That five-inch opening is how the whole bag will be turned right side out later, so do not sew over it.
If you want an interior pocket, deal with it before seaming. Press under the top edge of the pocket piece by half an inch, topstitch it, then pin the pocket to the right side of one lining panel about 2 inches below the top edge. Stitch around the sides and bottom, backstitching at the opening corners. When the bag is finished, the pocket will sit against the lining with its raw edges safely buried in a seam.
Leave the lining inside out when you are done. You need it that way for the next step.
Make the handles first. Fold a strip in half lengthwise, wrong sides together, and press. Open it out, fold each long edge in to meet the centre crease, press again, then fold along the original centre line and press once more. You now have a strip one inch wide with all raw edges tucked inside. Topstitch an eighth of an inch from both long edges. Repeat with the second strip.
Pin each handle to the right side of the outer bag, three inches in from the side seam, with the raw ends aligned to the top edge. Let the loop hang down inside the bag so it cannot get caught in the seam, and baste across the ends within the seam allowance. Working on the outer bag while it is right side out, and the lining while it is inside out, is the pairing that makes this work.
Slide the lining over the outer bag, right sides together, matching side seams and the raw top edges. Pin all the way around the opening, then sew a half-inch seam around the entire top edge, backstitching at the finish. Trim the seam allowance to a quarter inch if it feels bulky, and snip diagonally across the top corners to reduce bulk there.
Turning the bag is the moment beginners think they have ruined it. You will be looking at a lumpy fabric cocoon with a hole in the bottom. Pull slowly through the gap, then press the top edge before you judge anything.
Reach through the gap in the lining and pull the bag through. Push the lining down inside the outer bag, working the corners out with your fingers.
Press the top edge properly: push the seam allowance down into the bag and press all the way around, then topstitch a quarter inch from the edge. That line of stitching catches the seam allowance, keeps the lining from creeping up above the outer fabric, and gives the opening a crisp, deliberate finish. Close the turning gap in the lining with a ladder stitch, or machine stitch close to the folded edge if nobody will ever see it. Give the whole bag a final press.
If something has gone slightly wrong, it is almost always one of these:
The second bag takes about ninety minutes because your hands already know the sequence. That is the point to start changing things. Cut two-inch notches instead of 1.5-inch ones for a deeper, wider base that stands on its own. Lengthen the handles to 34 inches for a shoulder bag, or shorten them to 16 for a hand-carry version. A contrast lining costs nothing extra and shows every time the bag opens.
For a bag that hauls groceries, add interfacing to the lining as well as the outer panels, and consider a second line of stitching at the handle attachments for security. A small loop of ribbon sewn into one side seam makes a reliable key clip. Whatever you change, keep the seam allowance consistent and keep pressing — those two habits carry over to every project after this one.
Photo: Coernl / Pixabay
A practical pre-start guide to crochet gauge, hook sizing, and yarn preparation, with a checklist to help you avoid...
A practical guide to buying wool across Italy: the wool districts worth visiting, the fairs worth planning around,...
Five breathable summer patterns in cotton, linen and fine blends, with practical notes on yarn choice, gauge, hook...

Patient threads for handmade textile crafts.
