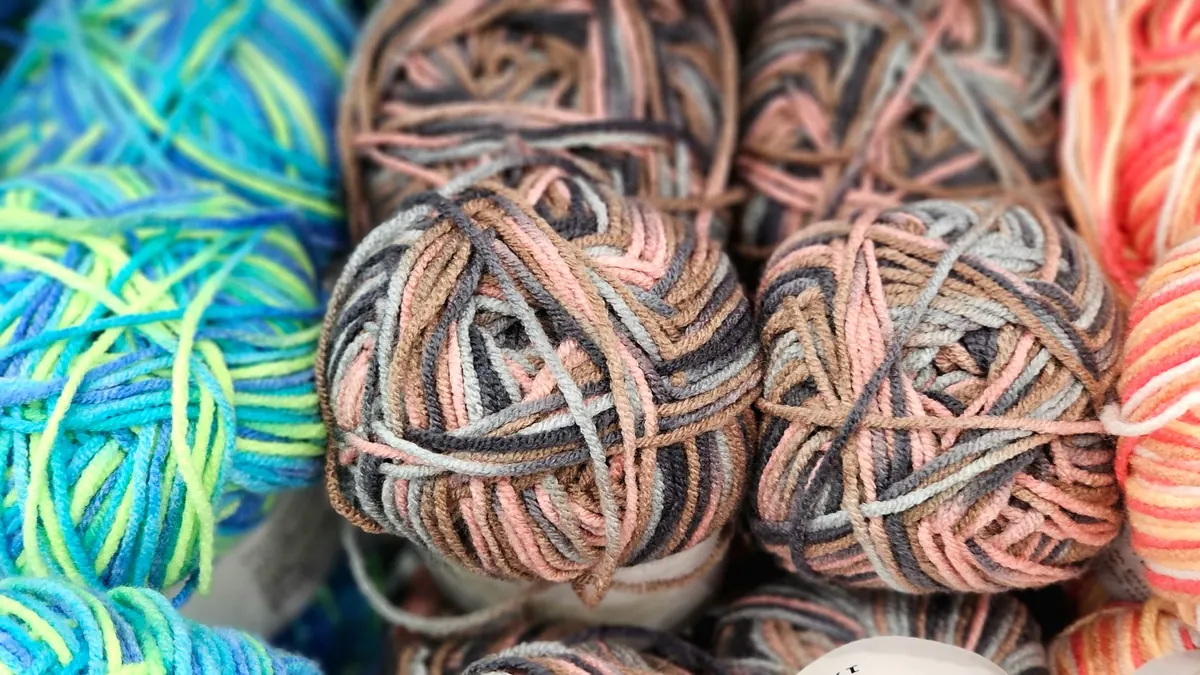
There is a particular kind of optimism in winding a fresh skein, choosing a pattern, and making the first chain. It is also the moment when small decisions have the longest reach. A hook that is one size off, a swatch measured too quickly, or a yarn that behaves differently after washing can turn a pleasant project into a lesson in improvisation. None of that is tragic. But a few minutes of preparation save hours of reworking, especially on garments, blankets, and anything that needs to fit.
This is the checklist worth running through before the first stitch. It is not about being cautious for its own sake. It is about knowing what you are working with before the stitch count becomes personal.
The label is a useful first conversation with your yarn. It gives fiber content, weight, recommended hook size, care instructions, and usually a dye lot. Read it before you set anything aside. If your pattern calls for a different yarn, compare more than the weight number. Two worsted yarns can have very different twist, drape, and halo; one may crochet into a firm bag, the other into a soft, collapsing fabric. The recommended hook on the label is a starting point, not a rule. Your hands, your tension, and the stitch pattern all have a say.
Check that all skeins come from the same dye lot when the project needs a consistent color. Even then, alternate skeins every couple of rows if the color is close but not identical, or if the yarn is hand-dyed. Give the skein a squeeze and a look: any joins, thin spots, or fuzzy patches? Better to find them now than halfway through a sleeve.
A gauge swatch is often treated as a chore, something to rush through before the real work. Treat it instead as a sample of the fabric you are about to make. Most patterns state gauge over 10 cm (4 in), usually in a specific stitch pattern. Make your swatch larger than that measurement, at least 15 cm (6 in) square, so you can measure well away from the edges. Use the hook the pattern recommends, then let the swatch tell you what to change.
Work the swatch in the same stitch pattern as the project, not just single crochet, unless that is what the pattern uses. If the project is crocheted in the round, consider making a small in-the-round swatch; working flat can give a different tension. Wash or block the swatch the way you will treat the finished piece. Some yarns bloom, stretch, or tighten after washing, and that changes the numbers you should trust.
If your swatch has more stitches per 10 cm than the pattern asks for, your stitches are too small; try a larger hook. If it has fewer, your stitches are too large; try a smaller hook. Change one hook size at a time and make another swatch. Small adjustments add up quickly. A difference of two stitches over 10 cm might not matter for a dishcloth, but over a 100 cm chest it becomes a serious fit problem.
Row gauge matters too, especially for garments, sleeves, and anything shaped vertically. Sometimes stitch gauge and row gauge refuse to agree. In that case, prioritize the stitch gauge for fit, then adjust the number of rows or the pattern length as you go. If row gauge is critical and you cannot match it, the yarn and pattern may be a poor match. That is not a failure; it is useful information before you commit.
Metric sizing is the safest common language. A 5 mm hook is a 5 mm hook. US and UK labels do not always line up neatly, and vintage hooks may use older sizing. When a pattern gives only a letter or number, check the millimeter equivalent. Also notice the shape of the hook: a deeper throat or a pointier head can change how comfortably you catch the yarn. The right hook is the one that gives you gauge and does not make your hand work harder than necessary.
Two crocheters can use the same labeled hook and get different gauge. That is normal. Hook material affects how the yarn slides: metal is slick, wood and bamboo offer more grip, ergonomic handles can change the angle of your wrist. None of these is better in every case. If a slippery yarn keeps sliding off a metal hook, try wood. If a grippy yarn drags, try metal. Take breaks and loosen your grip when you notice tension creeping up; tired hands often crochet tighter without announcing it. If pain persists, stop and seek advice from a health professional.
Wind skeins into cakes or balls if that is how you like to work, but do not assume every yarn needs it. Some skeins are designed to be pulled from the center; others collapse into a tangle if you try. Follow the way the yarn was wound. As you wind, check for knots, joins, and thick-and-thin spots. If you find a knot in a visible area, decide now whether to cut and rejoin or work it into a seam. It is easier to plan that than to discover it in the middle of a row.
Keep the labels with the project. They carry the dye lot, care instructions, and fiber information you will want later. If the pattern gives yardage or meterage, buy enough at the start; running out with a different dye lot is a common and avoidable headache. Finally, read through the pattern once with a pencil. Circle the hook size, gauge, stitch counts, and any special abbreviations. A few minutes of marking saves a lot of ripping back.
A beginner-friendly, step-by-step guide to sewing a lined tote bag, from choosing fabric and cutting panels to...
A practical guide to buying wool across Italy: the wool districts worth visiting, the fairs worth planning around,...
Five breathable summer patterns in cotton, linen and fine blends, with practical notes on yarn choice, gauge, hook...

Patient threads for handmade textile crafts.
