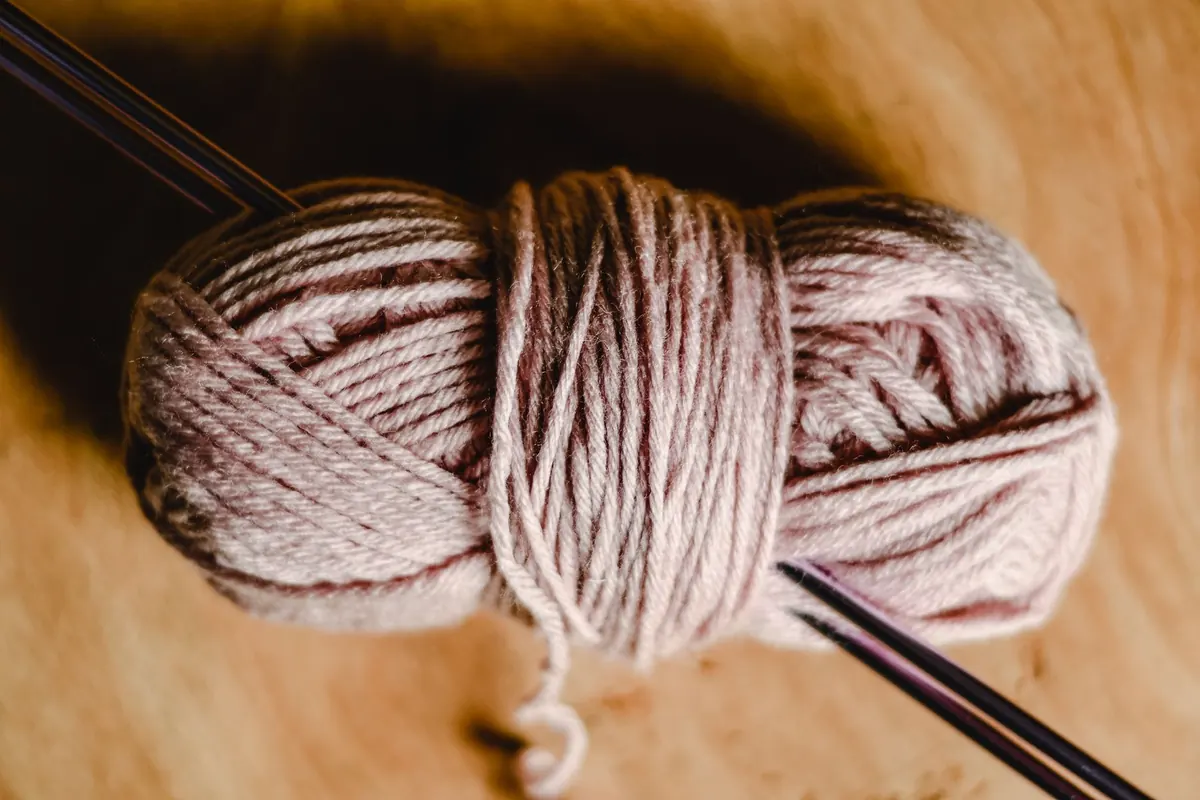
You have a ball of yarn, a pattern you actually want to knit, and a shop's worth of needles that all look roughly the same from a distance. Choosing a first pair can feel like a test you didn't study for. It isn't. Needles are tools, and a tool only has to suit the job in front of you: the yarn, the fabric you're aiming for, and the way your hands like to work. Get a handful of basics right and everything else becomes preference — the kind you develop naturally after your first two or three finished projects.
Every ball band gives you two pieces of information that matter more than any shop recommendation: a suggested needle size and a gauge. Gauge is usually written as stitches and rows per 10 cm (4 inches), measured in stocking stitch. It tells you how dense the yarn company expects the fabric to be when knitted on the suggested needle.
Treat that number as a starting point, not a rule. Two knitters using the same yarn and the same 4 mm needles can produce fabrics that differ by a couple of stitches over 10 cm, simply because one pulls the yarn tighter. That's why patterns ask for a gauge swatch: you're not checking whether you're a good knitter, you're checking whether your hands agree with the designer's. For a scarf, a small difference is invisible. For a sweater, it's the gap between a garment that fits and one that doesn't.
Knitting needles are sold by diameter in millimetres. That's the number worth trusting, because it's the one measurement that means the same thing everywhere.
Most needles carry both a metric size and a US size, and the two systems don't line up neatly. A 4 mm needle is a US 6; a 4.5 mm is a US 7; a 5 mm is a US 8. Older UK patterns run the opposite way, with larger numbers for finer needles, which is a reliable source of confusion when you inherit a pattern from a relative. If a pattern gives only one system, look up the conversion rather than guessing, and if you're ever unsure, go by the millimetres stamped on the needle itself.
Straight needles commonly come in 25 cm and 35 cm lengths; circular needles are described by the length of the cable plus tips, usually 40, 60, 80 or 100 cm. A 40 cm circular is right for a hat because the circumference is small. A 100 cm circular is right for a blanket because you need room for hundreds of stitches. Buying the right diameter on the wrong cable length is one of the most common beginner frustrations.
Material changes how the yarn behaves as it slides, and that affects both your speed and your comfort. There's no best material, only the best one for the yarn in your hands.
Warm, light and slightly grippy. Stitches stay where you put them, which is exactly what a beginner wants while learning to form stitches and read them. The downside is drag: with a hairy or sticky yarn, wooden needles can make every stitch feel like work. Very fine wooden needles also snap if you lean on them. If your hands or wrists ache while knitting, stop and rest; persistent pain is worth raising with a health professional rather than knitting through it.
Smooth, fast and durable, with a faint click that many knitters find satisfying. Metal is excellent for yarns that drag, such as cotton or a rustic wool, because the stitches slide without encouragement. It's less forgiving with slippery fibres like silk, alpaca or a smooth superwash merino, where stitches can escape a tip before you've finished the row.
Cheap, very light, and available in the big diameters that would be heavy in metal. Perfectly serviceable for a first chunky scarf. They can feel squeaky with acrylic yarn and may bend under pressure, but nobody's first project was ruined by a plastic needle.
The rough principle is that needle diameter should be close to the yarn's thickness. Go much thinner and you get a dense, stiff fabric; go much larger and you get loose, airy stitches with gaps you could post a letter through. Both can be deliberate choices — think of tight mittens versus a lacy shawl — but you should be choosing them on purpose.
As a general guide for the first needle you try with a given yarn weight:
If the stitches slide off the needle as you work and the fabric looks holey, go down a size or two. If you have to fight every stitch into the one below, go up.
Yarn labels sit at the centre of these ranges for a reason: they're the size that gives a balanced, all-purpose fabric. Start there, knit a small square, and adjust.
Straight needles are the ones in the illustrations, and they're fine for flat pieces up to a certain width. Once you have more stitches than the needle can comfortably hold, the weight drags and your hands compensate.
Circular needles — two short tips joined by a cable — solve that problem, and they're more versatile than they look. You can knit flat on them, simply turning your work at the end of each row. You can knit in the round for hats, cowls and sweater bodies. You can hold a large blanket project without your wrists paying for it. Many experienced knitters own very few straight needles and a drawer full of circulars.
Double-pointed needles, sold in sets of four or five, exist for small circumferences: the crown of a hat, mitten thumbs, socks. They look intimidating and are mostly just fiddly for the first row. You don't need them for a first project, but you'll want a set when you knit your first hat.
Rather than buying a set, buy for the things you actually want to make. A sensible starting order:
If you'd rather buy once, an interchangeable circular set in the 3.5 mm to 8 mm range covers most beginner-friendly yarns and projects, and the cables can be swapped to suit whatever circumference you need.
Run two fingers over the join where the tip meets the cable. If yarn catches there, it will catch on every round you knit, and you'll spend more time rescuing stitches than making them. Check that the tips taper to a point smooth enough to slide into a stitch but not so sharp that they split your yarn.
Then buy one 4 mm and one 5 mm circular with 80 cm cables, in the material that feels best in your hands, and knit a 15 cm square with each of the yarns you plan to use. You'll learn more from those two swatches than from any recommendation, because they tell you how your hands work with your yarn. Everything after that is refinement.
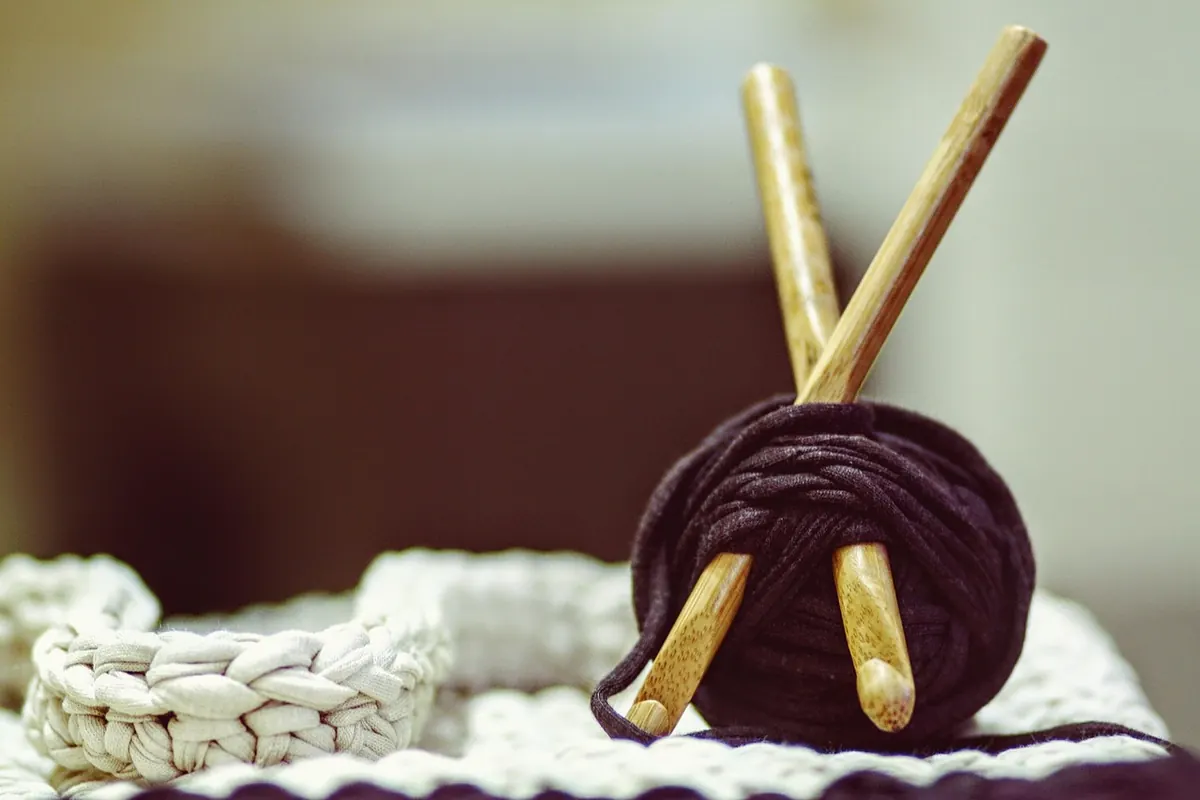
Photo: Eva Bronzini / Pexels
A beginner-friendly, step-by-step guide to sewing a lined tote bag, from choosing fabric and cutting panels to...
A practical pre-start guide to crochet gauge, hook sizing, and yarn preparation, with a checklist to help you avoid...
A practical guide to buying wool across Italy: the wool districts worth visiting, the fairs worth planning around,...

Patient threads for handmade textile crafts.
