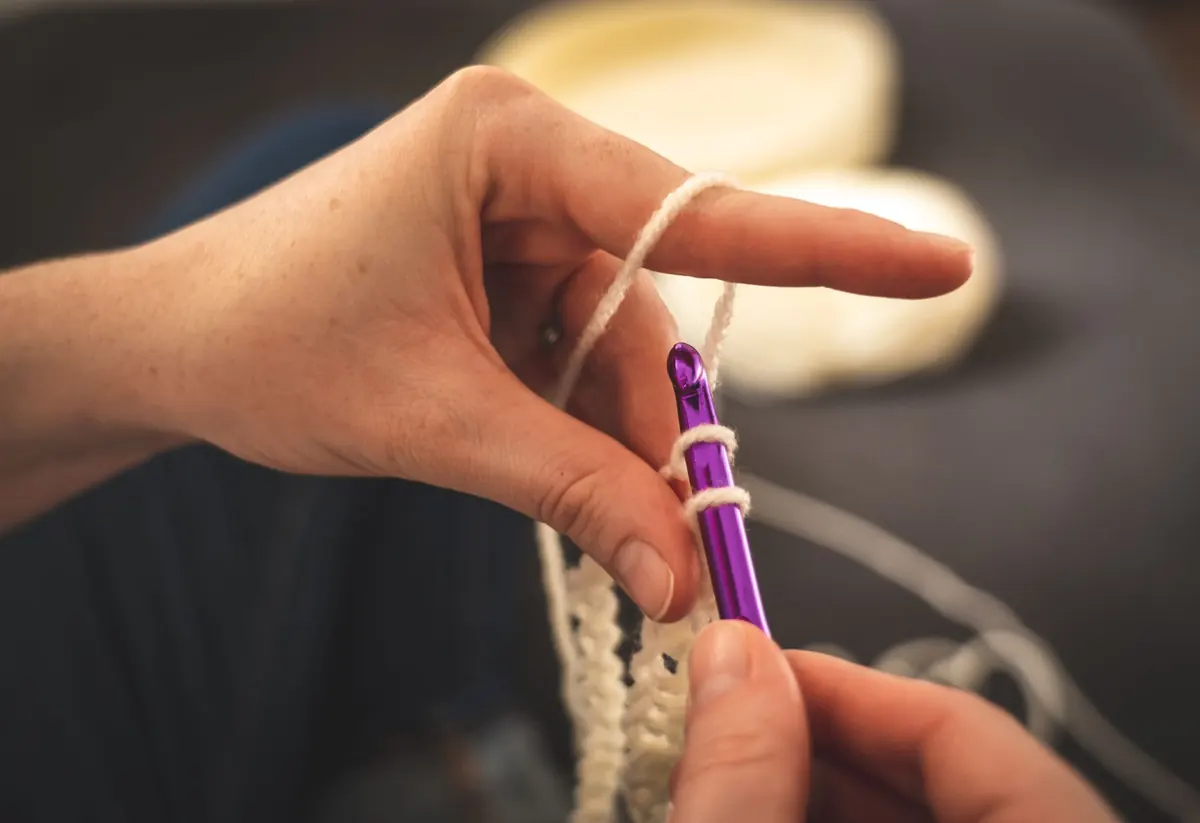
Two crocheters can follow the same pattern, with the same yarn and the same hook, and end up with pieces that differ by a couple of centimetres in every direction. The pattern is not the variable. The hands are.
Tension is simply how much pull you put on the yarn as you form each stitch. It is not a badge of skill — a loose crocheter and a tight crocheter can both be very good — but it has to be consistent, and it has to be close to what the pattern assumes. When it is not, you get the familiar list of complaints: a hat that fits a child, armholes that gape, granny squares that refuse to line up, hands that ache after twenty minutes.
Here are the mistakes behind most tension trouble, and what to do about each one. Most of the fixes take less time than ripping back a sleeve.
Tension cannot be managed if it has never been measured. The swatch is not a formality the designer added to fill a page; it is the only way to find out what your hands do with a given yarn and hook before you commit forty hours to a garment. A swatch that is measured while still stretched from working, or held up and eyeballed, tells you nothing useful.
Do it properly, once, and the rest of the project runs clean:
Two swatches are cheaper than one unwearable cardigan.
Tight tension is easy to spot. The hook squeaks. Stitches are stiff enough that inserting the hook becomes a small fight. The yarn develops a fuzzy halo from being abraded, and your fingertips have grooves in them at the end of the evening. The fabric curls and the finished item comes out smaller than the pattern promised.
Mostly this comes from holding the working yarn as though it might escape. Try letting the hook do the pulling and the hand only steer: draw the loop up over the shaft rather than yanking it through. Move the yarn ball closer so the strand has less distance to drag. If you crochet in a death grip, experiment with a pencil hold — hook held like a pen rather than a knife — which uses finer finger movements. Also check the time of day. Most people pull harder when they are tired, cold, or concentrating on something complicated.
If hand or wrist pain lasts beyond the session, treat it as information and speak to a physiotherapist or your doctor rather than working through it.
Loose tension usually is not a decision; it is an absence of friction. If the yarn simply dangles from the ball to the hook with nothing holding it back, every loop comes out a different size and the fabric has gaps at the base of the stitches, wonky chains, and a floppy, shapeless hand.
Give the strand a route. Wind it around your little finger, under the next two, and up over your index finger so it feeds from above with a light, steady drag. If the yarn is slippery — mercerised cotton, silk blends, bamboo, anything with a sheen — add a second wrap or use a tension ring. Then drop one hook size. A looser hand with a smaller hook almost always produces neater fabric than a death grip with the recommended one.
This is the quietest mistake, because the overall size can be right while the fabric still looks rumpled. The cause is usually where the loop sits on the hook. If you work off the tapered tip, the loop can sit at a different point every time, and the stitch height changes with it.
Slide the working loop back so it rests on the shaft, just behind the throat. Then pull each new loop up to the same height as the previous one — the same motion, every stitch, with a small, deliberate pause. Practise on smooth aran-weight yarn in a bright colour where you can see the loop clearly; variegated or dark yarn hides exactly the detail you are trying to learn.
Tension is not about strength. It is about repeatability.
Almost everyone tightens slightly on the first and last stitch of a row, which is why so many blankets have a curved edge. Long rows drift. So does the last half hour of an evening, when the shoulders creep up and the grip firms.
Watch the edges first. Work the first stitch of each row slowly and consciously, and place a marker in the first and last stitch so you are never guessing where the row ends. Compare the width of your work now with the width ten rows ago — a folded piece of paper with your starting width marked on it is enough. On long rows, stop halfway and check the fabric lies flat. If you notice a section that has clearly tightened, rip back to a clean row rather than trying to correct it later; the correction never blends in.
Some tension problems are not in your hands at all. Hook material matters: aluminium slides, wooden and bamboo hooks grip. A grippier hook can make your stitches tighter than the same hands on metal. Fibre matters more. Cotton has little stretch and shows every inconsistency; wool is springy and forgiving; acrylic can split and squeak. Substituting a different yarn weight without re-swatching guarantees a size surprise.
Before blaming yourself, ask three questions:
If any answer is uncertain, swatch again. It takes fifteen minutes and settles the argument.
Measuring at the end turns a small correction into a large one. Check the width after the first ten rows, then at intervals through the body of the work, and keep a note of your row count next to your hook so you can pick the project up days later without guessing. Block pieces before joining them — many yarns open up several centimetres in blocking, and a granny square that looks too small on the hook is often right after a wash. If you are joining motifs, block a few first and check that they match before you make thirty more.
When something looks wrong, resist the urge to frog first. Work through this list instead:
Tension improves with attention, not with force. Pick one thing from this list, work a swatch with it in mind, and compare it honestly with the last one. That small habit of measuring and adjusting is what separates crocheters whose pieces fit from those who keep reworking the same sleeve.
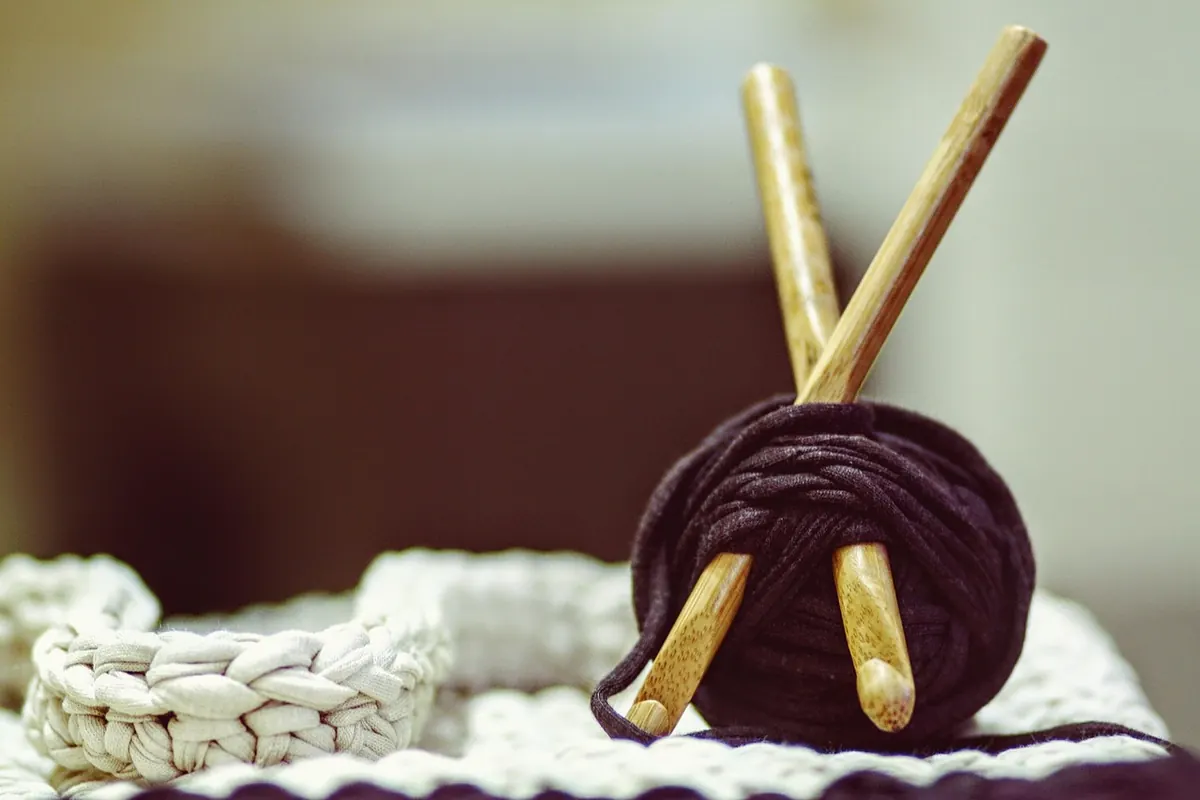
Photo: Castorly Stock / Pexels
A beginner-friendly, step-by-step guide to sewing a lined tote bag, from choosing fabric and cutting panels to...
A practical pre-start guide to crochet gauge, hook sizing, and yarn preparation, with a checklist to help you avoid...
A practical guide to buying wool across Italy: the wool districts worth visiting, the fairs worth planning around,...

Patient threads for handmade textile crafts.
