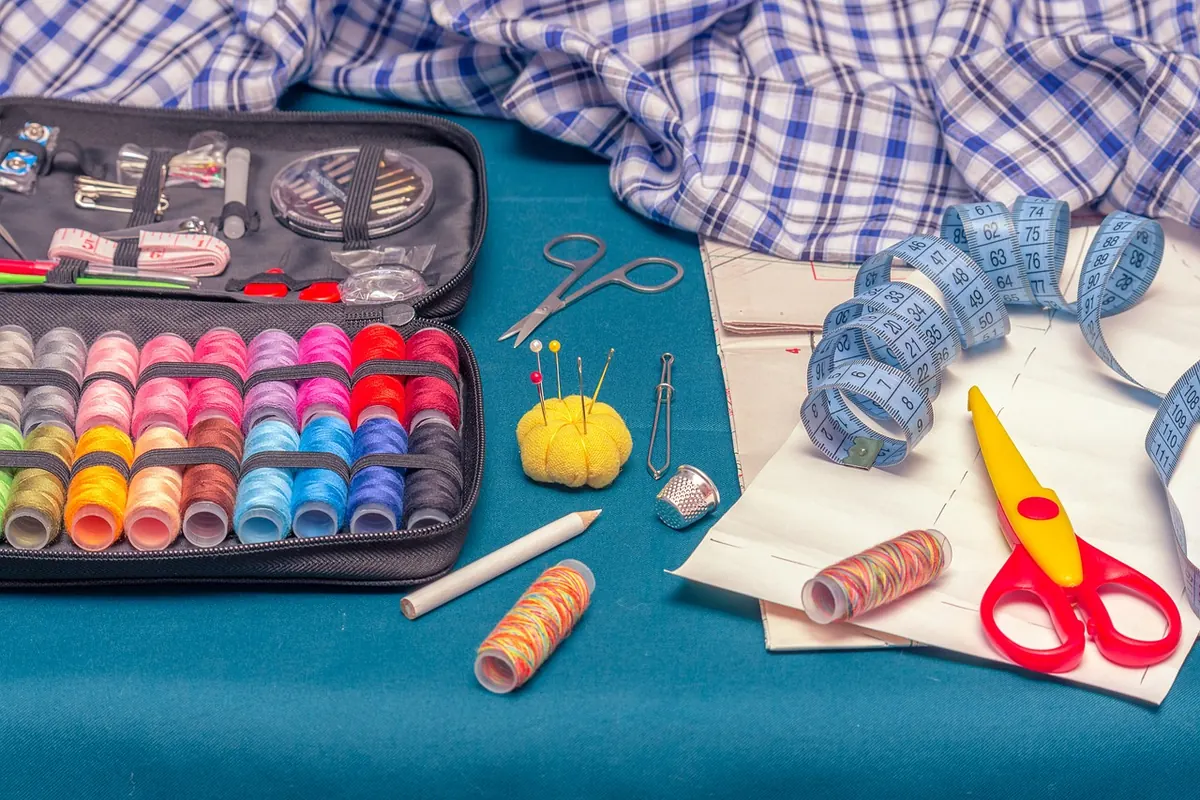
You've bought the pattern, opened the envelope, and shaken out a sheet of tissue that looks less like sewing instructions and more like a weather map. Arrows everywhere. Odd little triangles along the edges. Dashed lines, dotted lines, and a dart pointing at nothing in particular. Nothing is broken. Every one of those marks exists to answer a single question: where does this piece of fabric go, and how should it sit once it gets there? Learn five or six symbols and the tissue stops being intimidating. Here is what the marks actually mean, and how to use them without guessing.
Every pattern comes with a legend, usually printed in a corner of the tissue, on the instruction sheet, or both. It tells you which line is the cutting line, which is the stitching line, whether seam allowance is included, and what the symbols mean for that specific brand. Spend two minutes there before you touch the scissors.
Brands really do differ. A dashed line means "fold" on one pattern and "stitching line" on another, and the only authority is the key in your hands. While you're at it, check the sizing and the yardage for the view you're making. If the tissue feels fragile, trace the pieces you need onto pattern paper or a light non-woven interfacing. You keep the original intact for other sizes, and tracing forces you to look at every marking at least once.
The long arrow with pointed ends is the grainline, and it runs parallel to the lengthwise grain of the fabric — the threads running along the selvage, that finished edge that doesn't fray. Laying the piece so the arrow is parallel to the selvage is what keeps a garment hanging straight.
Don't eyeball it. Measure from the top arrowhead to the selvage, then from the bottom arrowhead to the selvage, and shift the pattern piece until both distances match. Two minutes with a tape measure saves a hem that swings to one side later. An off-grain skirt will twist around your body as you walk, and no amount of pressing fixes it.
Some pieces carry a bracket reading "place on fold" instead of an arrow. That edge goes exactly on the folded fabric so the piece opens out as one symmetrical whole — a center front, a waistband, a collar stand. Don't cut the fold. And if your fabric has a nap, a pile, or a one-way print, every piece needs to lie in the same direction, so follow the layout diagram rather than squeezing pieces in wherever they fit.
Notches are the small triangles or short lines on the cutting edge. They are not decorative and they are not optional. They mark points that must meet: side seam to side seam, sleeve cap to armscye, collar to neckline.
Single notches pair with single notches, double with double, triple with triple. On a sleeve, the double notch usually marks the front and the single marks the back, which stops you setting a sleeve in backwards — annoying on a plain cotton, genuinely miserable on a print.
Cut notches outward, into the seam allowance, with small sharp scissors, and keep the snip to three or four millimetres. Never clip past the seam line. If the fabric is delicate or the pattern puts the notch on a curve, mark it with a tiny chalk line instead of cutting. On curves the notches also keep you honest: if you pin notch to notch and the fabric between them doesn't match, one piece has stretched and needs a gentle press back into shape.
Snip notches while the pattern is still pinned to the fabric, or straight after unpinning — either way, don't skip them and don't "remember" them later.
A dart is a folded wedge of fabric stitched to a point, and it's how flat cloth becomes a shape that fits a body. On the pattern you'll see two angled legs meeting at a point, sometimes with a fold line down the middle. Mark all three: both legs and the point.
Use tailor's tacks, chalk, or a water-soluble pen, and test the pen on a scrap of your fabric first — some marking tools leave ghosts on silk and on dark wools. Mark on the wrong side, pin the legs together, and stitch from the wide end toward the point. Don't backstitch at the point; it creates a lump. Tie the thread ends instead, or sew almost to the point and leave a longer tail to knot. Press darts over a tailor's ham rather than flat on the ironing board so the shaping isn't crushed into a crease.
Other shaping marks you'll meet: pleat lines with arrows showing fold direction, tuck lines, and gather marks — two rows of dots or a zigzag line showing where to run the gathering stitches. Treat all of them as instructions, not suggestions.
Most patterns show two lines along each edge: an outer cutting line and an inner stitching line, usually dashed. The gap between them is the seam allowance, and the key will tell you whether it's already included. If it isn't, add it before cutting; 1.5 cm (about 5/8 inch) is a common default, but check what the pattern itself asks for.
Dots and squares mark pocket placement, buttonholes, the end of a zipper, or where a strap attaches. Transfer them with a pin prick and chalk, or with tailor's tacks. It is far easier to mark them now than to guess later with a garment half assembled. Fold lines appear on cuffs, facings, and hems, showing where the fabric turns back; press them rather than creasing them with a fingernail.
Beginners tend to under-mark. The cost of extra tailor's tacks is a few minutes at the table; the cost of guessing where a dart point sits is a seam ripped out of fabric that has already been weakened once. Mark more than you think you need. And if a symbol isn't in the key, check the instruction sheet — it's almost always explained in the step where that piece is used.
The first pattern you sew will feel slow. The second goes faster. By the third you'll be reading the tissue the way you read a recipe: skimming the list of ingredients, checking the marks that matter, and getting on with the making.
Photo: Alexey_Marcov / Pixabay
A beginner-friendly, step-by-step guide to sewing a lined tote bag, from choosing fabric and cutting panels to...
A practical pre-start guide to crochet gauge, hook sizing, and yarn preparation, with a checklist to help you avoid...
A practical guide to buying wool across Italy: the wool districts worth visiting, the fairs worth planning around,...

Patient threads for handmade textile crafts.
