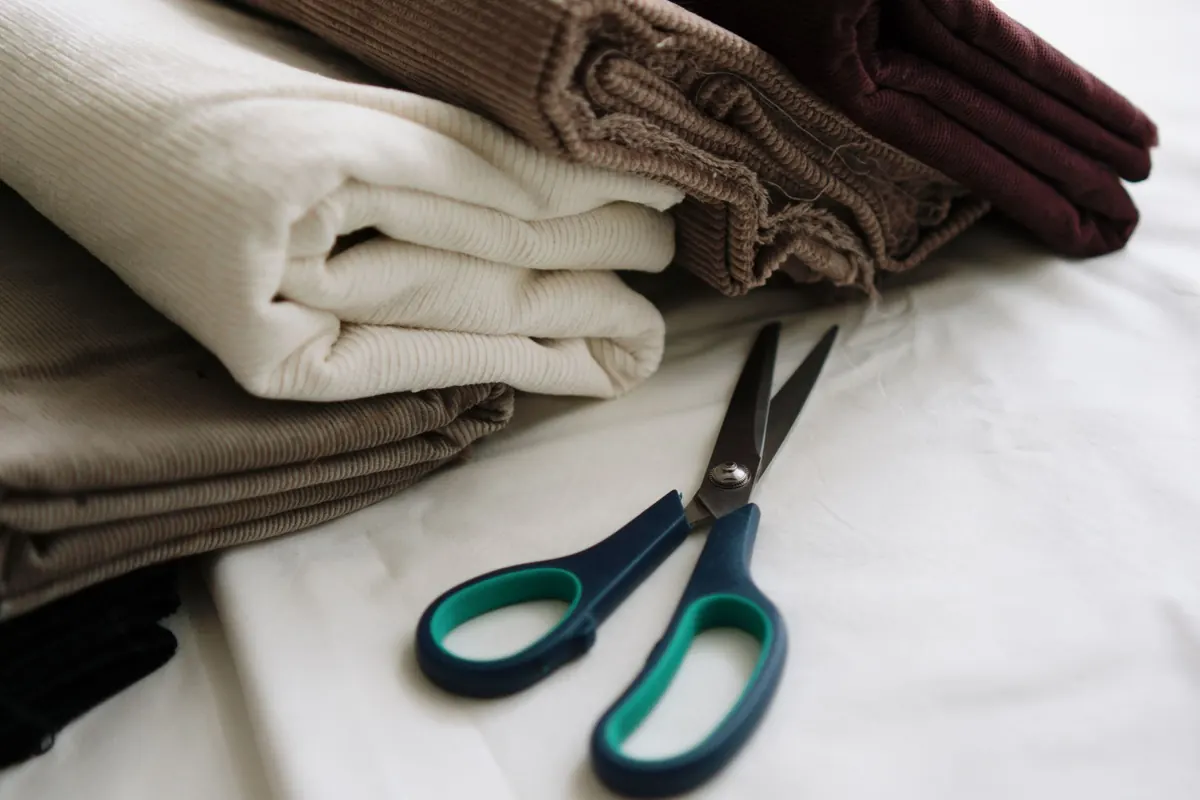
There is a moment in every project when the fabric is still perfect. It is flat, uncut, and full of possibility. The shears come out, and from that point on, everything is a decision you have to live with. Seams can be unpicked and hems re-sewn, but a bodice front cut on the wrong grain, or a sleeve cut in the wrong direction on a napped fabric, cannot be undone. That is why the ten minutes before cutting are the most valuable minutes of the whole project.
Most mistakes that show up at the machine were made at the cutting table. A stretched neckline, a piece that does not fit, a plaid that will not match at the side seam — none of these are sewing problems. They are preparation problems. What follows is the routine used to get from a folded length of cloth to a clean, accurate set of pieces, in ten clear steps.
Before anything else, sit down with the instruction sheet and read it start to finish, even the parts that look obvious. You are not reading to learn how to sew the garment; you are reading to find out what the cutting stage demands of you.
Check what the pattern assumes. Are seam allowances included, or do you need to add them? Does view B use the same back as view A, or a different one? Are there pieces cut from interfacing, lining, or a contrast fabric? Look for the small notes that change your layout: "cut 2 on fold", "cut 2 self and 2 lining", "not suitable for obvious diagonals". Lay the tissue pieces out and count them against the list on the envelope. A missing piece is much easier to discover now than after the fabric is in pieces.
If you plan to lengthen the bodice, shorten the sleeve, or move a bust dart, decide now and mark it on the tissue. Adjusting a flat pattern takes a pencil and five minutes. Adjusting a cut piece takes nerve and a lot of seam ripping.
If the finished garment will be washed, the fabric should be washed first, in the same way you intend to treat the finished piece. Cotton and linen shrink, sometimes noticeably on the first wash, and a dress that fits perfectly on the table can lose a size in the machine. Wash, dry, and press before cutting so the fabric you cut is the fabric you will wear.
For fabrics you will not wash at home — wool, some silks, coatings — a good steam press or a session with a garment steamer will relax fold lines and settle some of the shrinkage. If you are unsure how a fabric will behave, cut a small square, treat it the way you plan to treat the garment, and compare it with the original. That scrap tells you more than any label.
While the fabric is on the ironing board, inspect it. Hold it up to a window and look for weak spots along the fold, small holes, slubs, or dye marks. Circle anything you find with tailor's chalk so you can plan the layout around it. Flaws placed under an arm or inside a hem allowance are invisible; flaws placed down the centre front are not.
Fold the fabric in half lengthwise and bring the selvedges together. If the cut ends do not sit square, the fabric was pulled off grain somewhere along the bolt, and every piece you cut will follow that twist. Shift the fabric until the ends line up, then press a new fold. Do not simply stretch the ends to meet — that tension will relax later and the grain will drift back.
If the selvedges pucker and pull the fabric into a shallow curve, snip them at intervals of 10 to 15 cm to release the tension. It takes a minute and saves the whole layout.
Corduroy, velvet, brushed fleece, faux fur, and any print with an obvious up-and-down direction all need every pattern piece placed the same way. Check this before you start pinning, and budget more fabric than the envelope suggests. On a napped fabric, a sleeve cut in the opposite direction will look like a different colour in daylight.
For stripes and plaids, decide where the matching will happen — side seams, centre front, pocket flaps — and add a little extra length and width to allow for it. Trim the fabric edge along a stripe so you have a reliable reference line to measure from.
Choose your size from body measurements, not from the size you buy in shops, and choose it per area: a size 14 bust with a size 12 waist and a size 16 hip is a completely normal combination. Tracing the pattern onto a separate sheet lets you blend sizes, keep the original intact, and re-use it later. Swedish tracing paper or plain pattern paper both work; a soft pencil and a long ruler make it quick.
Mark all the notches, dots, grainlines, and fold lines on the traced copy, and label each piece with its name and size. If the project is fitted, or the fabric is expensive, make a quick test garment in cheap cotton first. It is a step people skip, and it is the one that saves the good fabric.
You need more room than you think. A full pattern piece should lie flat with the whole thing supported, not hanging over the edge where it will drag the fabric as you cut. If your table is short, cut in stages — half the layout at a time — rather than letting pieces cantilever off the side.
Put a self-healing mat down, and rotate the fabric rather than the rotary cutter. Stand, if you can, so you can see the whole layout and press down evenly through the layers. Move a lamp to the side of the table rather than overhead: raking light shows you the grain, the selvedge edge, and whether your layers are truly aligned.
A blunt rotary blade skips over the fabric and drags the layers out of alignment. If you have to press harder than usual, change the blade. It costs a minute and prevents a wobbly edge.
Sew a test seam on a scrap of the actual fabric before cutting — not after, when you are impatient to begin. That test tells you whether the needle is right for the cloth: a sharp or universal needle for wovens, a ballpoint for knits, a denim needle for heavy twill. Try a couple of stitch lengths, check the tension, and see how the fabric presses. Adjust now, while a mistake costs nothing.
Wind a bobbin with matching thread and clean the lint out of the bobbin case. Set out the interfacing you will need and fuse a scrap to check that it behaves on this fabric without bubbling or bleeding through. Fetch the walking foot if the fabric is slippery or thick, and the quarter-inch foot if there is a lot of piecing ahead.
Run through this once and it becomes second nature — a quiet ten minutes with the iron, the ruler, and a cup of tea before the real work starts. The reward is not just a neater set of pieces. It is the confidence, when you sit down at the machine, that everything under the needle was chosen on purpose.
Photo: Berna / Pexels
A beginner-friendly, step-by-step guide to sewing a lined tote bag, from choosing fabric and cutting panels to...
A practical pre-start guide to crochet gauge, hook sizing, and yarn preparation, with a checklist to help you avoid...
A practical guide to buying wool across Italy: the wool districts worth visiting, the fairs worth planning around,...

Patient threads for handmade textile crafts.
